D’BakerAid Companion — Your Smart Baking App
Backed by Science. Engineered for Consistency.
Bake with control—not guesswork. D’BakerAid Companion guides you through the complete three-stage system: controlled yeast fermentation, precision dough proofing, and steam-assisted baking with D’Steamer.
Explore step-by-step recipes, calculate accurate dough formulas, adapt your own recipes to the D’BakerAid system, troubleshoot common baking problems, and discover the science behind yeast activity, fermentation, proofing, dough development, and steam.
Everything you need to understand your dough, make better decisions, and achieve more consistent baking results—in one intelligent companion.
D'BakerAid Companion is a guided baking app for recipes, calculators, troubleshooting, and product learning. Current D'BakerAid operation is controlled directly from the Smart Hub. Remote control may be added in a future connected version.
Sourdough Guide
Master sourdough starters, feeding schedules, fermentation, and D'BakerAid workflows.
Use My Own Recipe
Enter flour, water, yeast, salt — get a precise split for Stage 1 and Stage 2 ingredients.
Quick Tools & Calculators
Yeast converter, hydration calculator, dough scaling, flour mode advisor.
Any Recipe Converter
Have a recipe from anywhere? Convert it into the D'BakerAid process with the right stages, timings and flour mode.
Pizza Dough Tonight
Step-by-step same-day Italian pizza dough guide with precise quantities for 2–4 pizzas.
Start a Guided Bake
Choose recipe → yeast type → flour type → timeline → step-by-step mode.
The 3-Stage D'BakerAid Baking System
Understanding the D'BakerAid Process
| Stage | Name | Duration |
|---|---|---|
| 1Stage 1 | Yeast Fermentation | 35 minutes |
| →Kneading | Mix & Knead Dough | 8–15 minutes |
| 2Stage 2 | Dough Proofing | 45 minutes |
| 3Stage 3 | Bake with D'Steamer | During Baking |
Stage 1 — Yeast Fermentation (35 Minutes)
This stage is mandatory for all yeast-based dough recipes — bread, pizza, buns, rolls, focaccia, bagels, and all other yeast-leavened doughs. It activates the yeast under precise temperature control before the dough is mixed.
In the 2.5L Fermentation Bowl, add in this order:
- 1
Water — Use 300–350 g of eligible liquid taken from the recipe's total liquid. Do not add this amount as extra liquid. If the recipe contains less liquid, follow the calculated Stage 1 quantity shown for that recipe. Use non-chlorinated water; chlorine inhibits yeast activity.
- 2
1 tablespoon of sugar — provides an immediate food source to kick-start yeast.
- 3
Yeast (amount per recipe) — active dry, instant, or fresh, according to your recipe.
- 4
1 tablespoon of flour — adds a small starch buffer that supports early fermentation.
⚠️ Do NOT add salt at this stage. Salt inhibits yeast and will slow or prevent fermentation.
Mix gently until uniform, then place the bowl on D'BakerAid.
On D'BakerAid:
Select Stage 1 – Yeast Fermentation
Choose the yeast mode: Active Dry / Instant / Fresh
Press Start — the cycle runs for 35 minutes
At the end of the cycle the mixture should be foamy and bubbly — the sign of active, healthy yeast.
Yeast Mode Selection
Mode
Use With
Active Dry
Active Dry Yeast
Instant
Instant / Rapid Rise Yeast
Fresh
Fresh / Compressed Baker's Yeast
Yeast Freshness
Always use yeast within its expiration date. At the end of Stage 1, check for visible bubbles, foam and a fermented aroma. If activity is present but mild, you can continue — foam level varies by yeast type and recipe composition.
If there is no bubbling or fermentation aroma after the cycle, do not rely on another heating cycle to revive inactive yeast. Check the yeast, liquid and ingredients, then restart with fresh yeast if necessary.
Kneading — Mix & Develop the Dough
Once Stage 1 is complete, transfer the fermented yeast mixture to a large mixing bowl and add the remaining recipe ingredients. This is the stage where salt and all other ingredients are incorporated.
Add to the fermented mixture:
- The remaining flour (recipe total minus the 1 tablespoon used in Stage 1)
- The remaining liquid, if any (recipe total minus the liquid used in Stage 1) — never add extra liquid
- Salt (amount per recipe) — added now, after yeast is fully active
- Any additional recipe ingredients: eggs, butter, oil, milk, sugar, seeds, etc.
Kneading Methods:
- By hand: Turn the dough onto a lightly floured surface and knead 10–15 minutes until smooth and elastic.
- By stand mixer: Use the dough hook on medium-low speed for 8–10 minutes.
If the recipe includes fats (butter or oil), add them gradually during kneading — a little at a time — until fully incorporated. The finished dough should feel smooth and slightly tacky.
Stage 2 — Dough Proofing (45 Minutes)
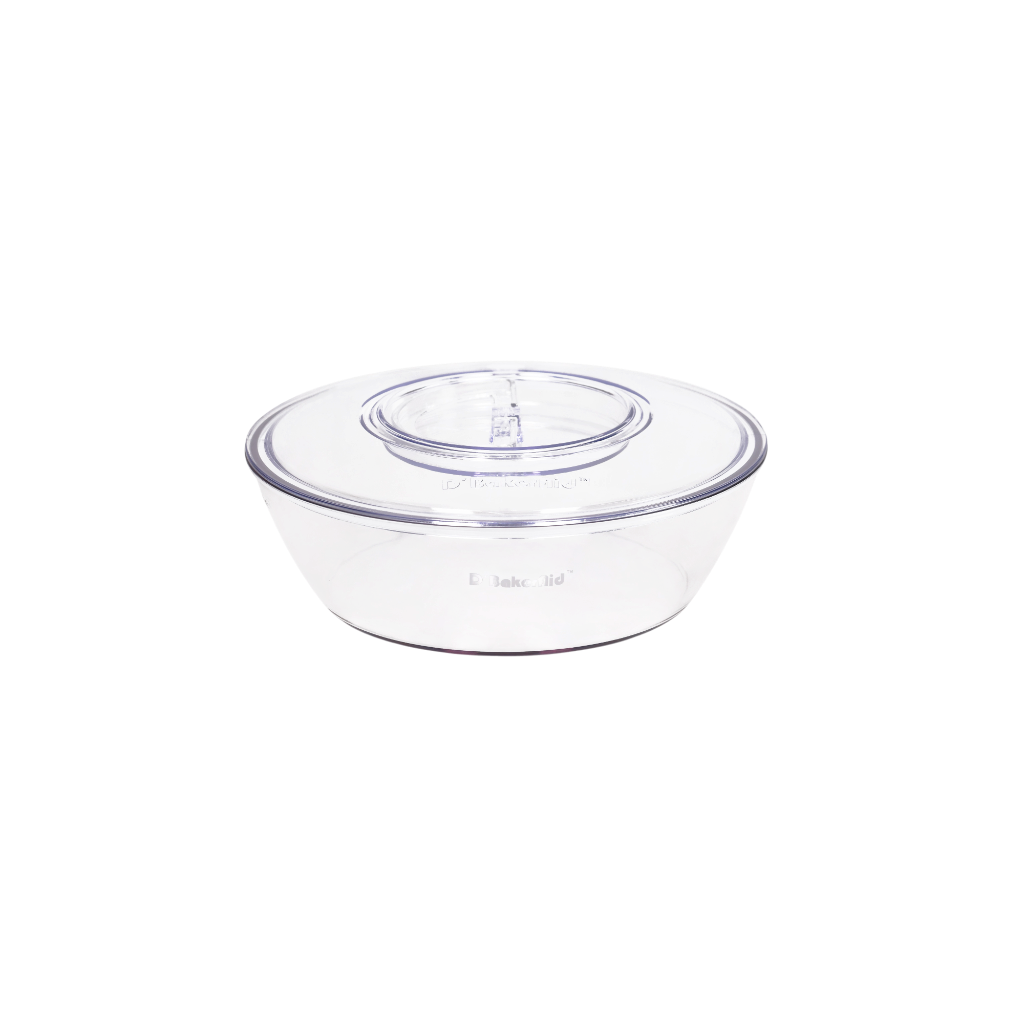
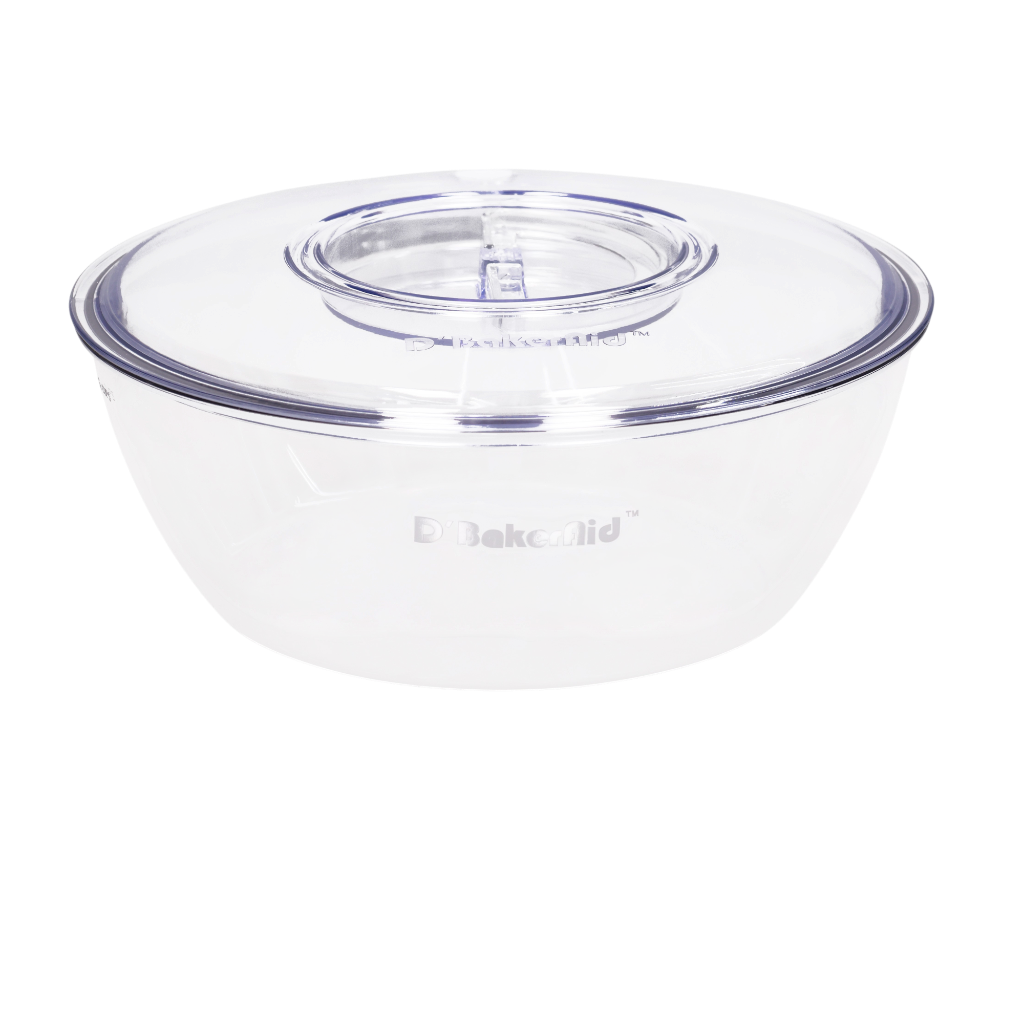
After kneading, shape the dough into a ball and place it in the 4.5L Proofing Bowl. Close the lid and place the bowl on the D'BakerAid base unit. Select Stage 2 – Dough Proofing and choose the mode for your flour type.
Proofing Mode Selection
Mode
Recommended For
White
White flour doughs: enriched breads, brioche, rolls, buns, pizza, bagels, focaccia
Mixed
Blended flours: rye + wheat or multigrain mixtures
Whole Grain
Whole wheat and high-bran doughs
Sourdough
Naturally fermented dough with sourdough starter
Press Start — standard yeast dough proofing runs for 45 minutes. The dough should roughly double in volume.
Sourdough Mode — Important Note
There are 2 ways to prepare sourdough with D'BakerAid:
Option 1 — Traditional / Slower Method
Sourdough uses a natural starter, so you can skip Stage 1 Yeast Fermentation.
Prepare the dough directly by combining all ingredients, including:
- Sourdough starter
- Water
- Flour
- Salt
- Oil
- Sugar, if used in the recipe
Mix by hand or knead with a stand mixer, then place the dough into the 4.5L bowl. Select:
Stage 2 → Dough Proofing → Sourdough Mode
Sourdough fermentation is naturally slower and usually requires a minimum of 4 hours, depending on the strength of your starter, room conditions, and recipe.
Option 2 — Faster Method
For a faster sourdough process, you can use Stage 1 Yeast Fermentation before proofing.
In the 2.5L bowl, add:
- Sourdough starter
- Water
- 1 tablespoon sugar
- 2 tablespoons flour
Mix well until uniform, then select:
Stage 1 → Yeast Fermentation → Fresh Yeast — Run for 35 minutes
Once the cycle is complete, transfer the fermented mixture into the 4.5L bowl or into a mixer bowl. Add the rest of the recipe ingredients, then mix and knead:
- 8 minutes with a stand mixer, or
- 10 minutes by hand
Transfer the dough into the 4.5L proofing bowl, then select:
Stage 2 → Dough Proofing → Sourdough Mode
Check the dough every hour to monitor its rise. Because you used Stage 1 activation, the dough will usually rise faster than in Option 1 and may double in size sooner.
Built-In Scale
D'BakerAid also functions as a professional digital scale. All measurements are in grams & oz.
Quick Reference
Everything you need to know at a glance
The 3-Stage Baking System
| Stage | Bowl | Time | Purpose |
|---|---|---|---|
| 1Stage 1 | 2.5L bowl | 35 min | Activate yeast / starter |
| 2Stage 2 | 4.5L bowl | 45 min | Proof the dough |
| 3Stage 3 | Oven + D'Steamer | Recipe-based | Steam-assisted baking |
Flour Modes (Stage 2)
White
Standard white bread flour. Light, airy texture.
Mixed
Blend of white and whole grain flour.
Whole Grain
100% whole grain flour. Dense, nutty flavour.
Sourdough
Uses sourdough starter instead of commercial yeast.
In the 2.5L Fermentation Bowl, add in this order:
| 1Water | 300–350ml warm water taken from your recipe's total water — not extra. Use non-chlorinated water. Chlorine inhibits yeast activity. |
Yeast Types
| Type | Notes |
|---|---|
| Active Dry Yeast | Must be activated in Stage 1 (2.5L bowl) with warm water before mixing. |
| Instant Yeast | Must be activated in Stage 1 (2.5L bowl) before use. |
| Fresh Yeast | Must be activated in Stage 1 (2.5L bowl) with warm water before mixing. |
| Sourdough Starter (Traditional) | Skip Stage 1 — use active peak starter directly. Mix dough → Dough Program → Sourdough. |
| Sourdough Starter (Accelerated) | Stage 1 (2.5L bowl): starter + 300–350ml recipe water + sugar/honey + flour → Fresh Yeast program. Then mix remaining dough → Dough Program → Sourdough. |
D'Steamer Guide
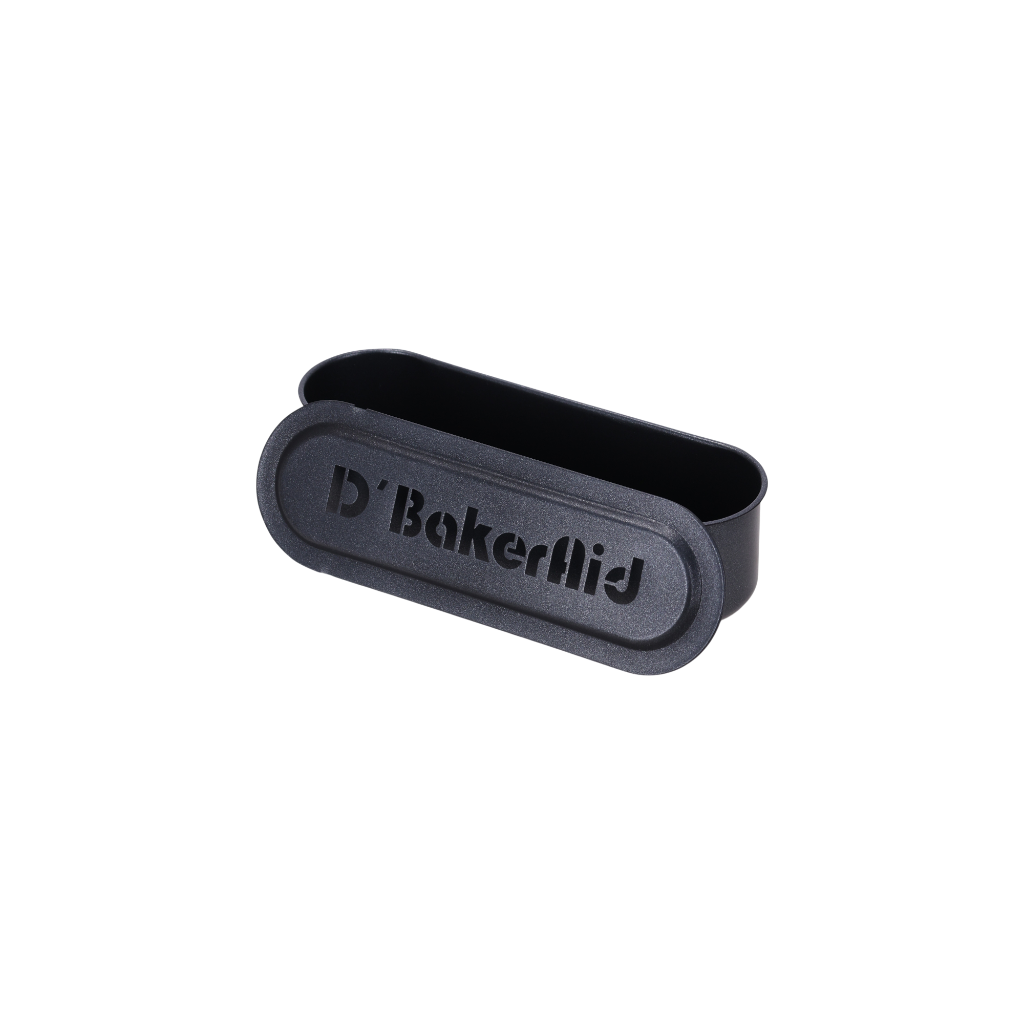
Place the D'Steamer in the oven against the oven wall during preheat. The steam it releases creates the ideal crust — crispy outside, soft inside.
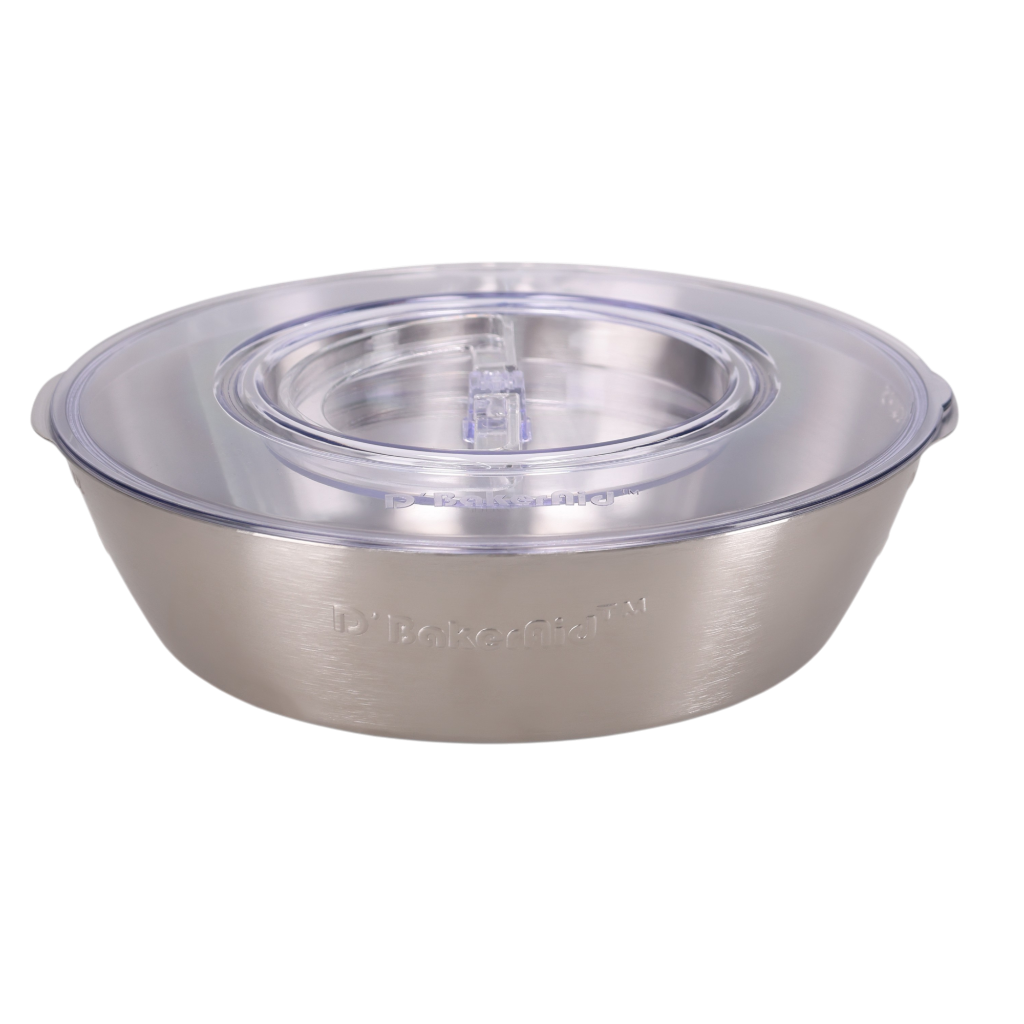
Chocolate Melt Bowl
Why Use the Chocolate Melt Bowl?
Unlike traditional methods, D'BakerAid maintains stable low temperatures, allowing chocolate to melt slowly and evenly.
Pre-Bake Checklist
Latest Recipes
All recipes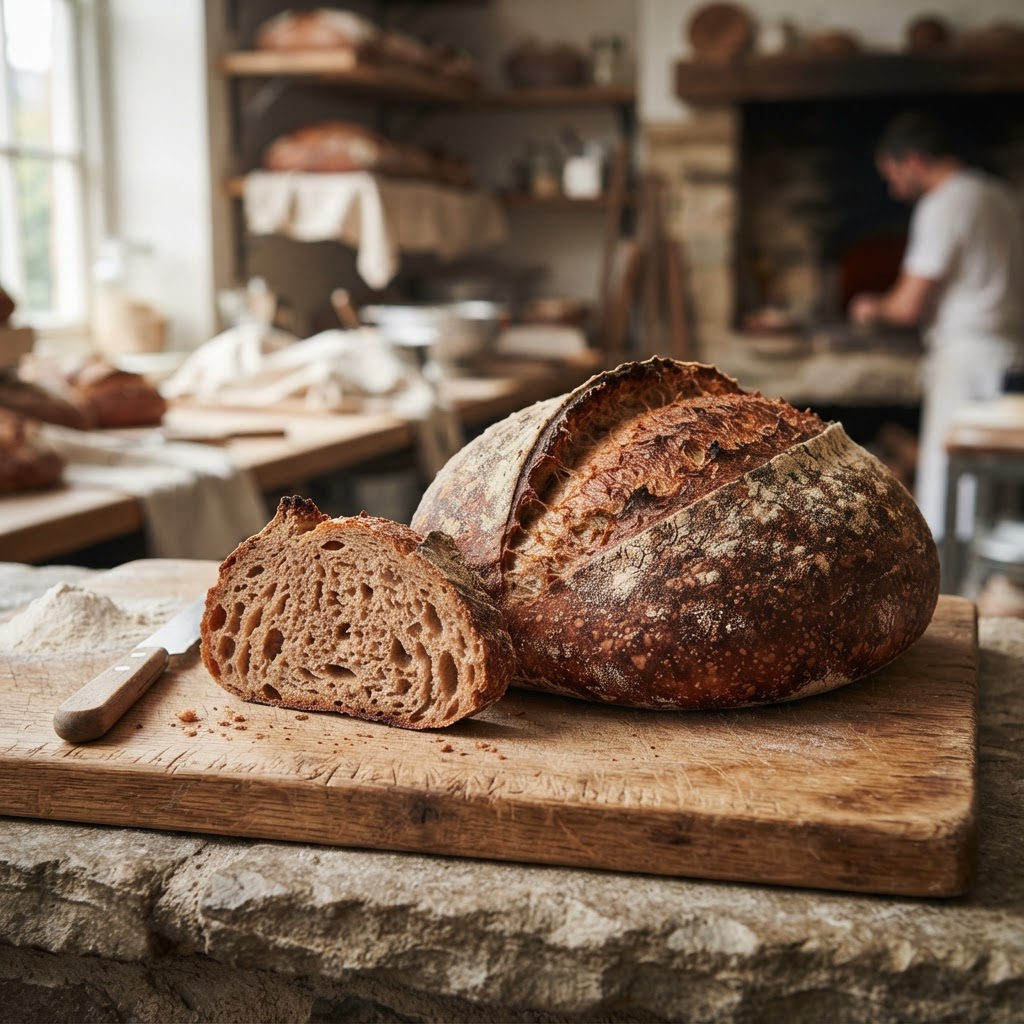
Fresh-Milled Hard Red Winter Wheat Hearth Loaf
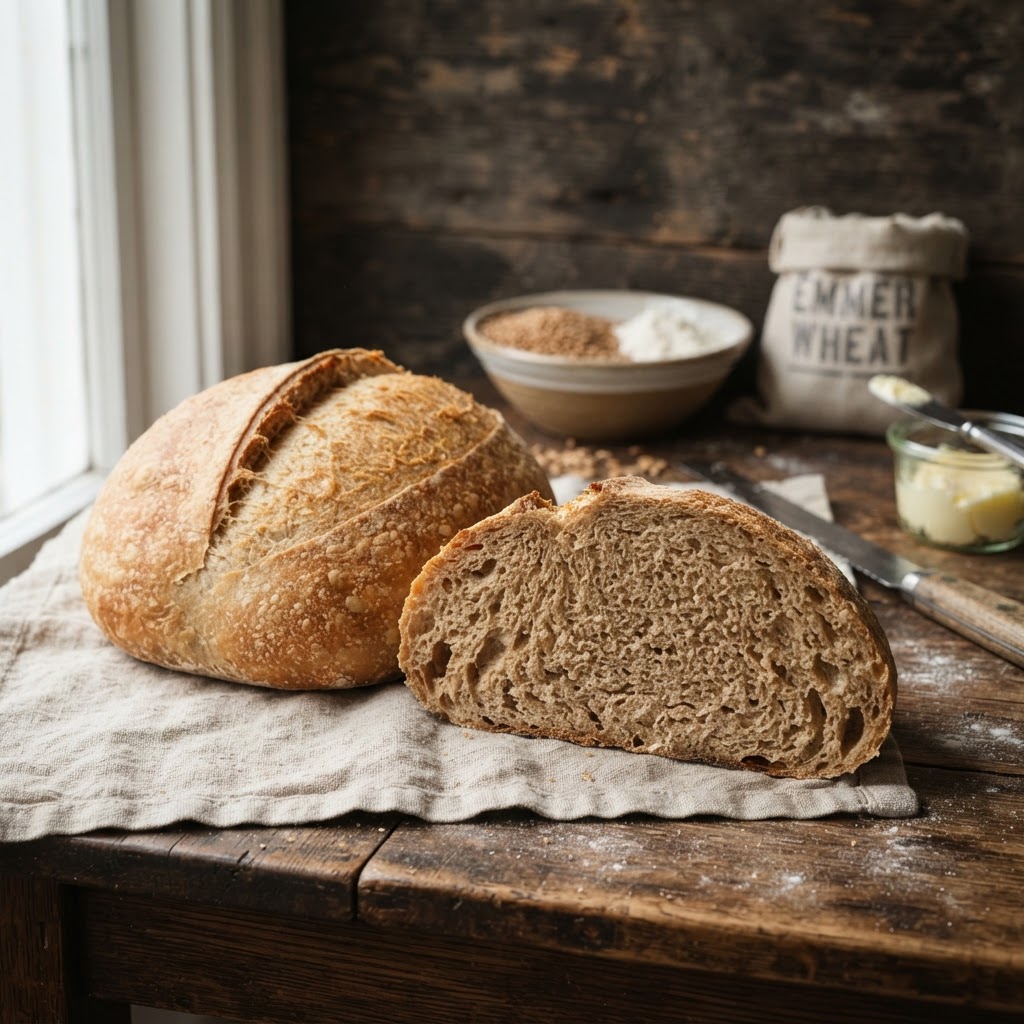
Fresh-Milled Emmer Pan Loaf
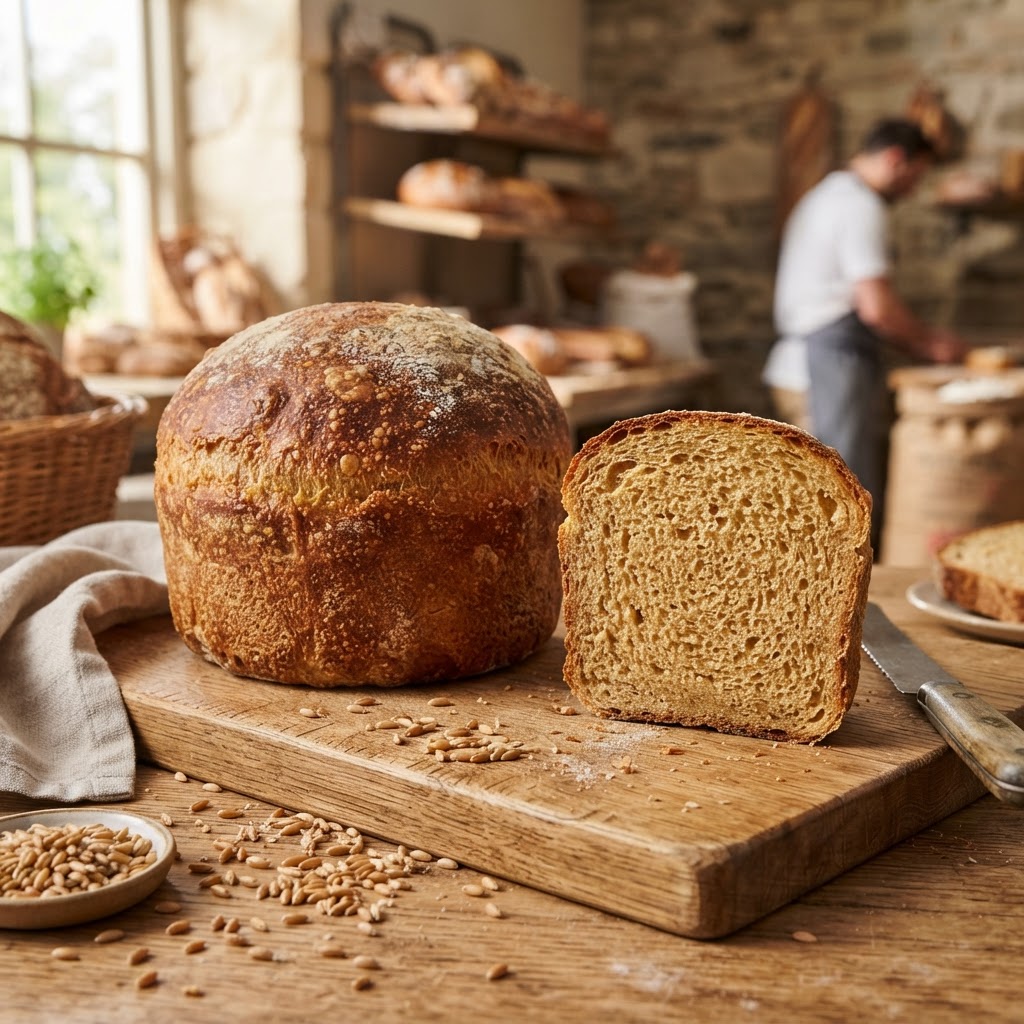
Fresh-Milled Khorasan Wheat Loaf
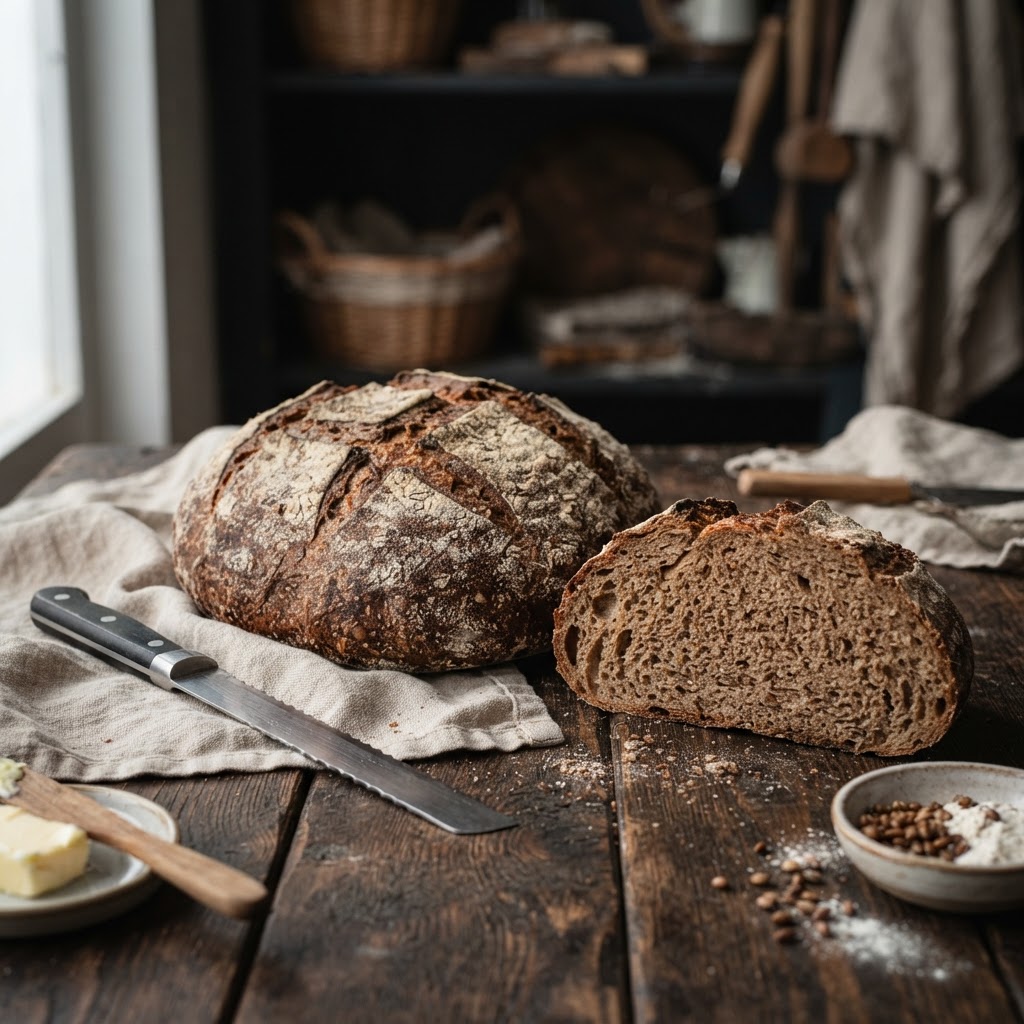
Fresh-Milled Wheat-Rye Blend Loaf
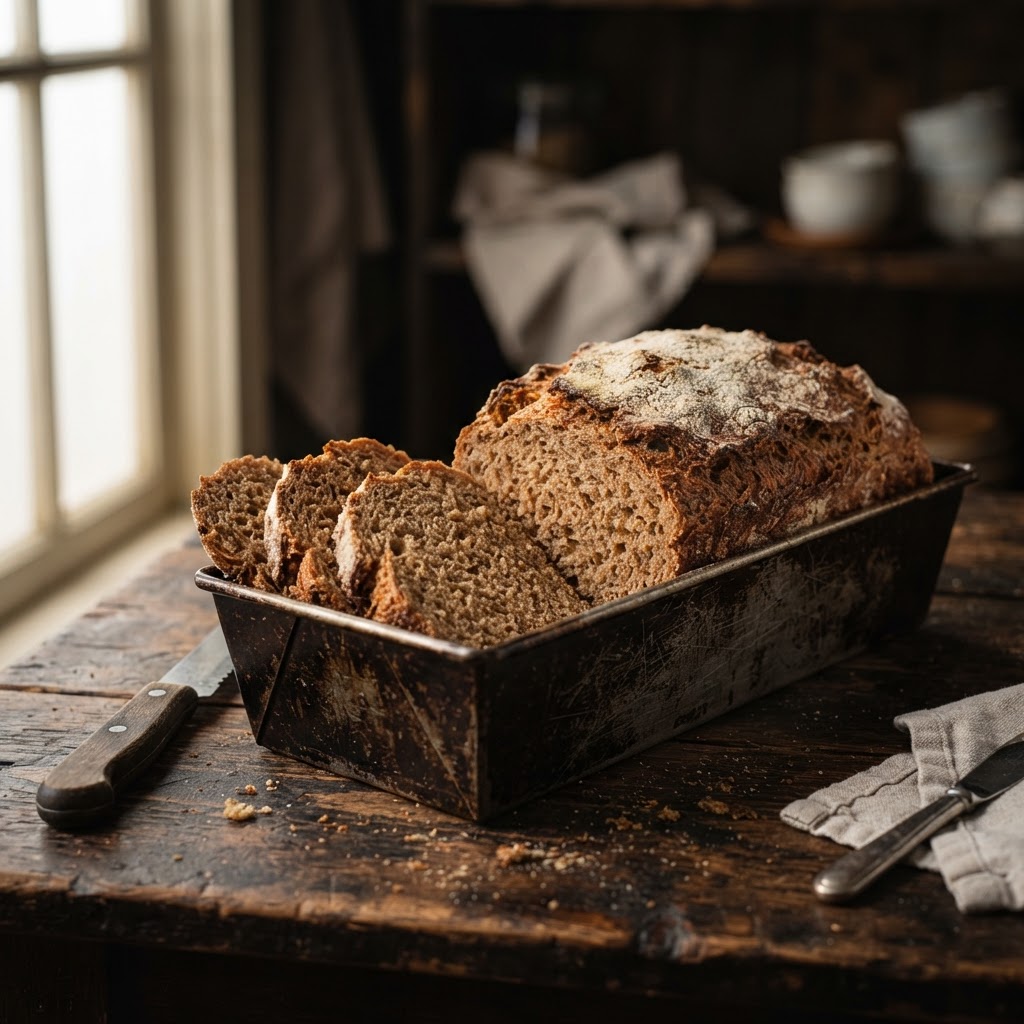
100% Fresh-Milled Hard-Wheat Bread